RV Rooftop Poynting Antenna Install
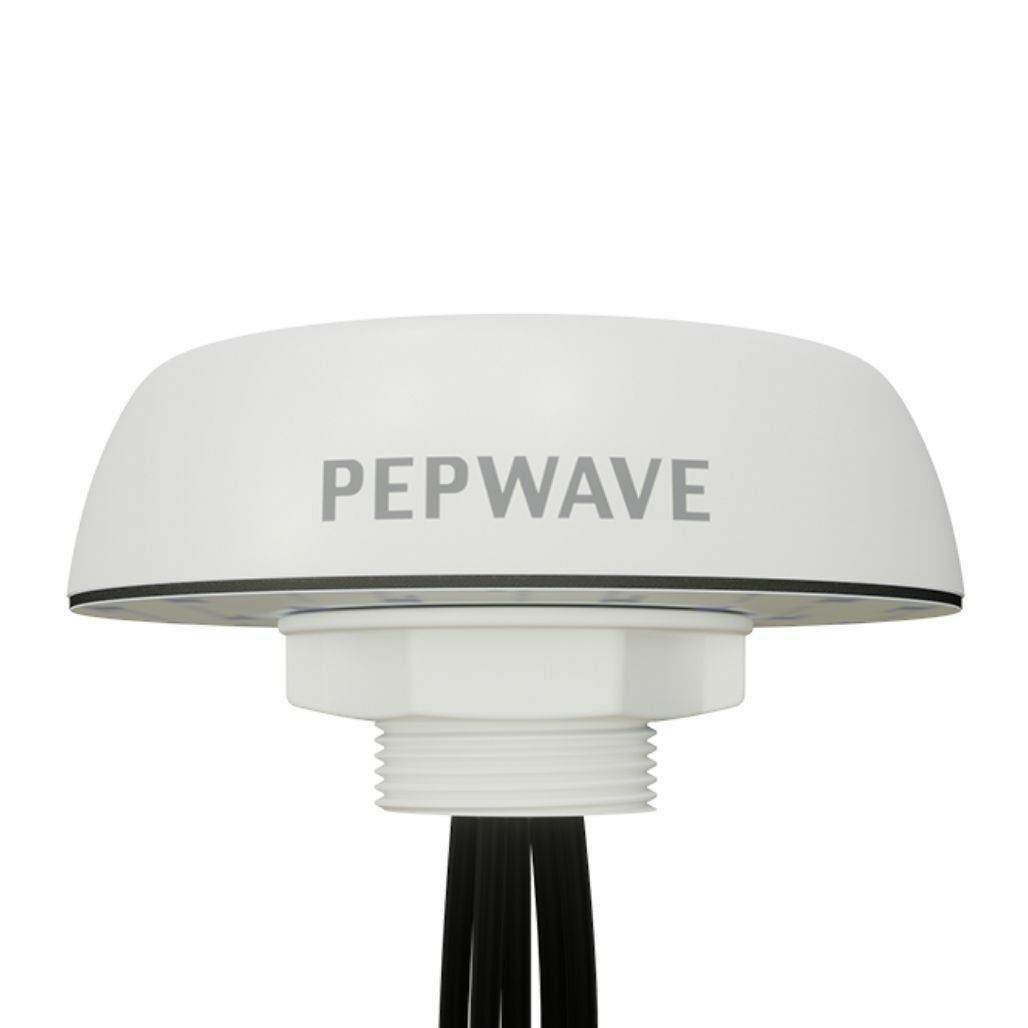
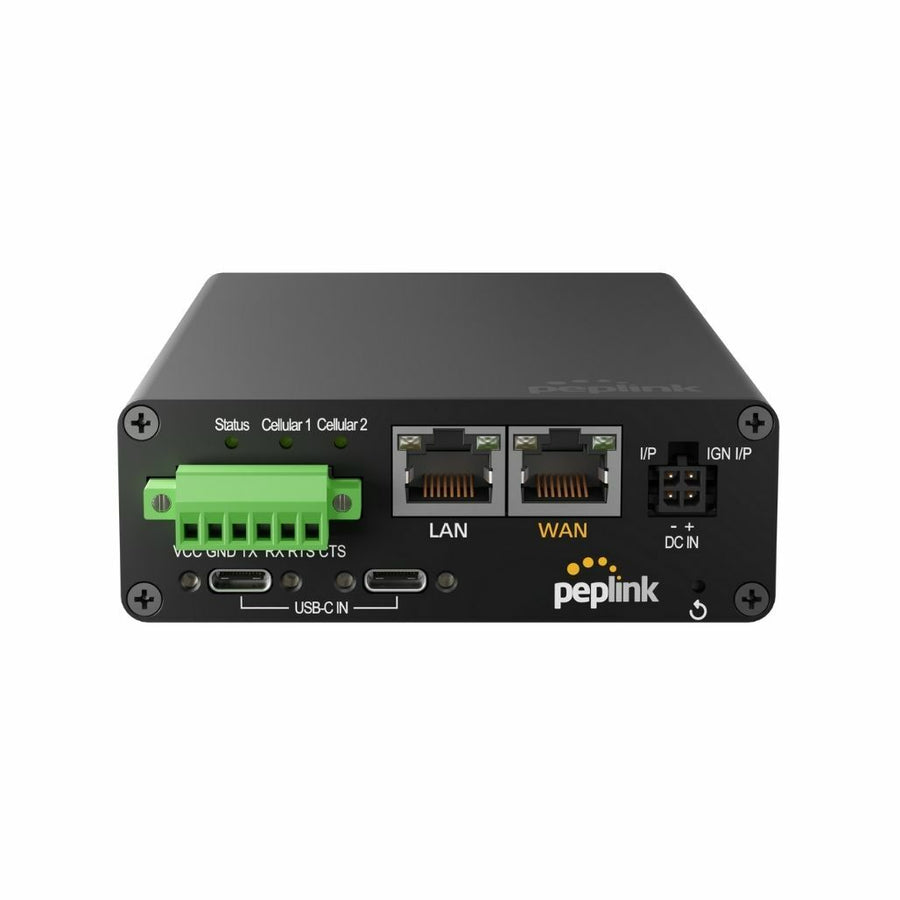
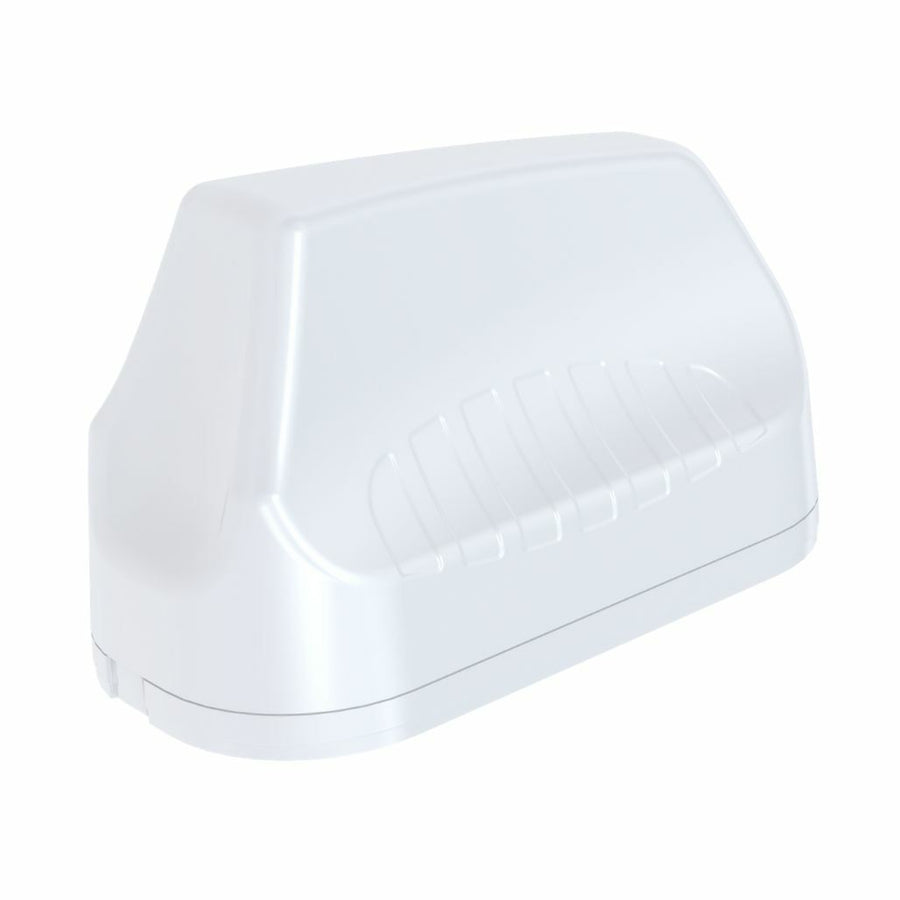
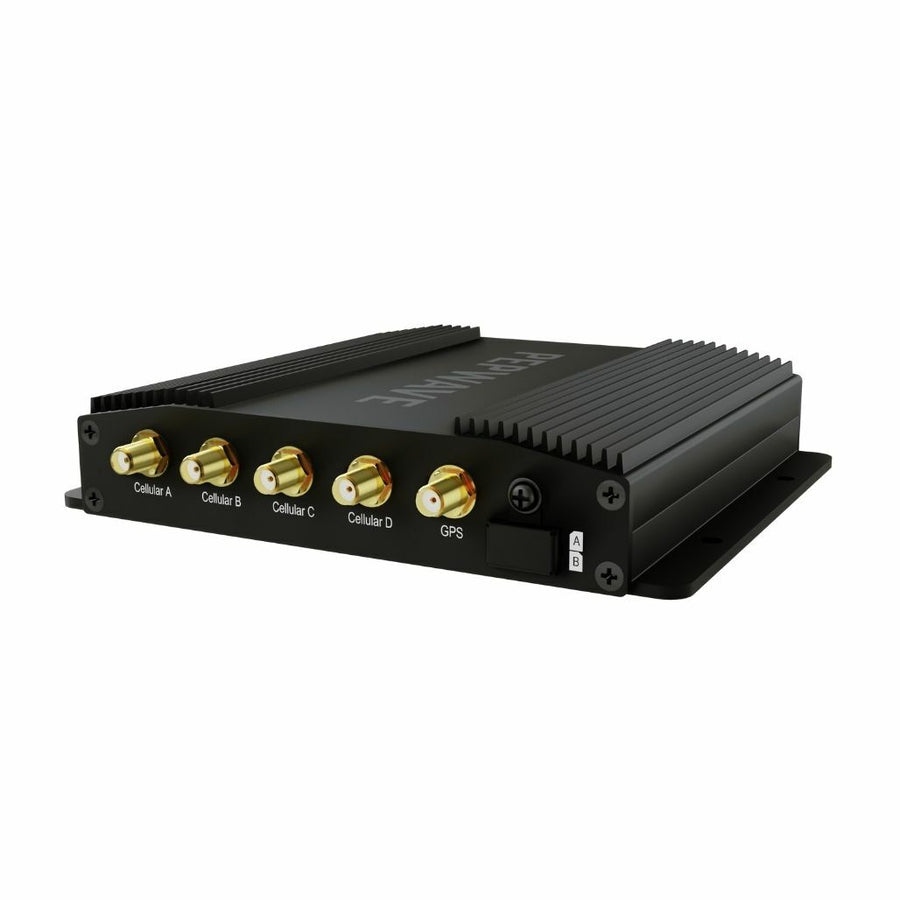
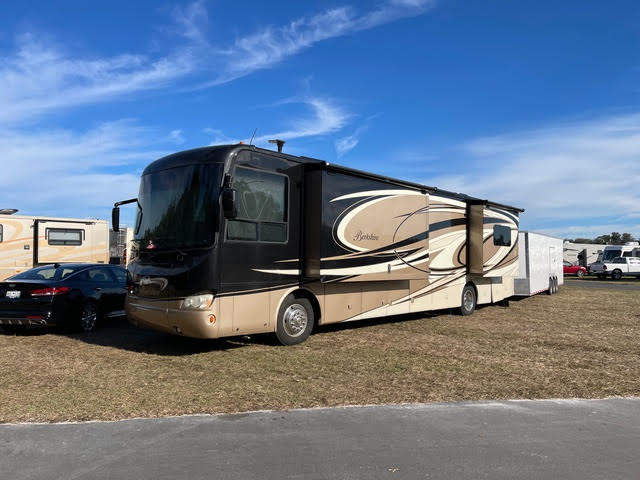
Recently, I installed a Poynting 7-in-1 MIMO Omnidirectional Antenna on the roof of my Tiffin Phaeton Class A motorhome. A 7-in-1 antenna simply means that the Poynting antenna has seven antennas within one mount: 4 cellular, 2 WiFI, and 1 GPS. It is the perfect compliment to the Pepwave Max Transit Duo Cellular Routers and we are installing it specifically for the Pepwave Max Transit Duo Cat 12 Router that we use along with our Verizon, AT&T and T-Mobile cellular plans. The Pepwave Max Transit Duo is a dual modem cellular router so you need the 4 cellular antennas to utilize MIMO (multiple in - multiple out) for both modems plus the 2 WiFi antennas give you dual-band (2.4 and 5 Ghz) access to campground and public WiFi using your Pepwave. The GPS antenna is optional for internet connectivity and serves as a way to track your Pepwave's location.
Because the Pepwave Max Transit Duo has 2 modems, you can bond two cellular plans together and be using them at the same time which creates an unbreakable bond and gives you access to multiple cellular bands which increases your chances to have a great cellular connection. We’ve been using the Pepwave Transit Duo Cat 12 for months without a roof antenna and have had a good experience, but wanted to install the antenna before we take off on the road again in order to have the best possible chance for strong cellular connection while on the road. In addition, we want to clean up our RV office area and really want the Pepwave router mounted in a cabinet out of the way.
When permanently mounting any antenna (and not just the Poynting) on your RV there are many considerations to take into account. These same methods would work for our Pepwave compatible Puma antennas along with any other antenna you may have. It would also work with the WeBoost Reach Cell Booster or any WiFi Booster.
If you are going to drill a hole in your roof, then there are specific things that you must look at before proceeding. Before I started the project I consulted with many people that drill holes in RV roofs for a living, like satellite installers and RV techs. The considerations on where to drill a hole and the proper method to drill a hole are pretty unanimous. Below are the things that I did during the install to ensure I was drilling in the right spot and avoiding areas where wires may be run. You can also watch a detailed video of me installing the antenna here.
How to Decide Where the Wires Are in Your RV
The first thing to know is that most RV manufacturers either run their wire bundles down the sides of the ceiling or right down the middle. So of course, avoid these areas.
When I started the project, I wanted to lay my eyes on as much as I could behind the scenes to help confirm where the wiring was run. In my case, I removed some of the back panels in my cabinets so I could see behind them. In addition, I had some speakers mounted on the ceiling and I took those down to take a peek at what was going on in those locations. After a bit of recon, I was convinced that the wiring in my RV was running down the sides of my RV. With this knowledge, I picked the drilling spot in a cabinet about 10 inches away from the side of the ceiling. When you pick a location, be sure that you have access to power for the Pepwave nearby. In our case, we had access to 12V power behind the cabinet panels, but we chose to run our 110V AC power cable to an outlet in a cabinet nearby.
Drilling the First Hole
Next, let’s talk about the first hole you need to drill. The proper way to drill a hole in a RV is to first drill up with a small drill bit, like 1/8th of an inch. This will need to be a long drill bit because you want to pierce the roof from inside the RV when you make the hole. The idea here is that if you did miscalculate where wiring is run, then the wires will roll off of the small bit. Because you will need a long drill bit and will likely be drilling from inside of a cabinet, it may be necessary to use a 90 degree drill attachment so that the drill bit will fit vertically in the cabinet. Once you pierce the roof, then it is time to go to the roof.
Drilling a Hole in Your RV Roof
Once on the roof, you will use a hole saw that is the appropriate size for your antenna; in my case it was 22 millimeters. The antenna specs that I was installing told me the size hole saw to use. If you are installing a different antenna you will need to check on what is appropriate for your install. The goal is to drill the smallest hole necessary for your application. My roof is fiberglass and then under that is plyboard. Under the plyboard there is insulation. I cut the hole using the hole saw into the fiberglass and the plyboard. Once I hit insulation, I stopped drilling and went back inside the RV to begin clearing the hole of the insulation.
Clearing the Insulation

From this point, the process may be different for you, but the idea here is to slowly dig out the insulation from inside the RV. Remember, this is about taking your time to make sure that you do not run into a wire. You are not out of the woods yet until you have completely cleared out the hole from top to bottom and have visual confirmation that there are no wires. In my case, I drilled a bigger hole from the bottom and then used a thin spike tool to dig out the insulation. The hole that I cut from the bottom would eventually be covered with a hole cover, like the kind you might find on the top of an office desk that allows a cable to go through it. The size of this hole from the inside may be different for you depending on the size of the cable and in my case, I needed to be able to reach in the hole to screw an end cap on the bottom of the antenna, so I needed a little more room to work with.
Once I cleared the insulation, I could see the clear path of the new hole from bottom to top. Now that the hole was drilled and cleared, it was time to install the antenna, so back to the roof!
Mounting the Antenna on your RV Roof
Because I measured the antenna base beforehand and used the correct hole saw, the base of the Poynting antenna fit perfectly in the hole I drilled on the roof. The Poynting antenna has a 3M pad on it to stick it to the roof. So I cleaned the area (I chose rubbing alcohol), put a small bead of silicon at the entry site on the base of the antenna to add an extra layer of moisture prevention. I then removed the 3M pad to reveal the sticky tape and then placed the antenna firmly on the RV and pressed on it for a bit to be sure it was secured with the 3M pad. Next up is the last part of weatherproofing. I put a bead of dicor around the antenna and with that, I was done on the roof.
Covering the Cable Holes in your RV
Once back inside, I needed to clean up the hole in the cabinet. To do this, I used a plastic desk cable hole cover, like the kind you find on a desk to allow a cable to go through it. They come in a variety of sizes and with each cover, it told you the size hole that needed to be drilled for it to fit. correctly The size it recommended was a perfect fit to cover the hole and allow the cables to run through it cleanly. Once I ran the cable through the cover, I attached a small bit of silicone to the back of the cover and firmly attached it to the cabinet where the hole was.
Getting Power to the Pepwave

I still had to get to power for the Pewave, and you will too. Each case will be different, but I chose to drill through 3 more cabinet walls and run a power cord along the top back of the cabinets in order to reach a 110 outlet in a nearby cabinet. I again covered the holes with desk cable covers to make it look clean (I used a smaller size since only one cable had to travel through). The Pepwave power cable was just short of the length I needed to reach the outlet, so I chose to plug a surge protector power strip into the outlet and run it through the cabinets instead so it remained in the cabinet with the Pepwave so I could utilize the additional outlets for future devices.
This concludes what I did to install my Poynting antenna for my Pepwave Max Transit Duo Cat 12 cellular router. Again, your roof materials may be different and your wiring paths in your RV can vary, but remember, just take it slow, and take your time to dig out the insulation once the holes are drilled.
Materials for the Installation
Here is a general list of the materials I used in my specific install:
- Poynting 7-in-1 MIMO Omnidirectional Antenna
- Plastic Desk Grommets (Diameter depends on your application)
- Drill
- Hole Saw (Diameter depends on your application)
- 1/8-inch Drill Bit (Length depends on your application)
- 90-degree Drill Attachment (Depends on your application)
- Dicor Sealant
- Caulking Gun
- Silicone Sealant
- Rubbing alcohol
- Screwdriver or something sharp to clean out insulation
- Screwdriver to remove Poynting antenna mount
Does a Roof Antenna Help with a Cellular Signal

Having an external antenna on your Pepwave can drastically improve your results because it improves line of sight to the local cell tower. In addition, it provides more power than the internal antennas that come with the unit. This is the case with booster type products like cell and WiFi boosters as well.
Once we installed the Poynting 7-in-1 MIMO Omnidirectional Antenna on our RV roof, our upload speeds nearly tripled and the download speeds saw a 21% increase. We were already in a pretty good area for signal, so I was very pleased with the increases.


If you are on the fence on whether to install a roof-mounted antenna on your RV to complement your Pepwave Cellular Router, I would encourage you to make the leap. The convenience of having everything tucked away in a cabinet has been great and the increase in performance has been well worth the process of installing the antenna.
We have a lot of information on the different types of antennas for the Pepwave units at TechnoRV, and we are always available to answer questions should you have any - just contact us and we'd be happy to help.
Click here to browse our entire lineup of Pepwave Cellular Routers and Antennas.









Leave a comment