Side Marker Cameras for RVs
Having visibility around your RV while you travel is a crucial part of RVing safety. The three most common cameras added to an RV are a dash camera, a rear observation camera, and side marker cameras.
Dash Camera
A dash camera is simply a camera you plug into your dash power and mount on your window to record what happens in front of you while driving in case of an accident. This camera does not require a permanent mount and is the easiest to add although it does not assist in driving like the other two permanently mounted cameras mentioned do.
Rear Observation Camera
Typically, the first camera permanently added to an RV is a rear observation camera. This is different from a backup camera in that it remains on even while you are in forward motion and not just when you are in reverse. Having a backup camera is nice, but a rear observation camera can assist in watching your towed vehicle or seeing what is behind your trailer while you are on the road. In addition, the rear observation cameras can really assist you in changing lanes as often in heavy traffic it is difficult to determine when you have completely cleared another vehicle to pull into their lane.
Side Marker Camera
The final step in camera safety is to have side cameras as these help to cover those blind spots that you may have. Working with your mirrors and a full set of cameras pretty much eliminates concerns of knowing what is around your RV and when you can change lanes.
VisionWorks RV Camera Systems
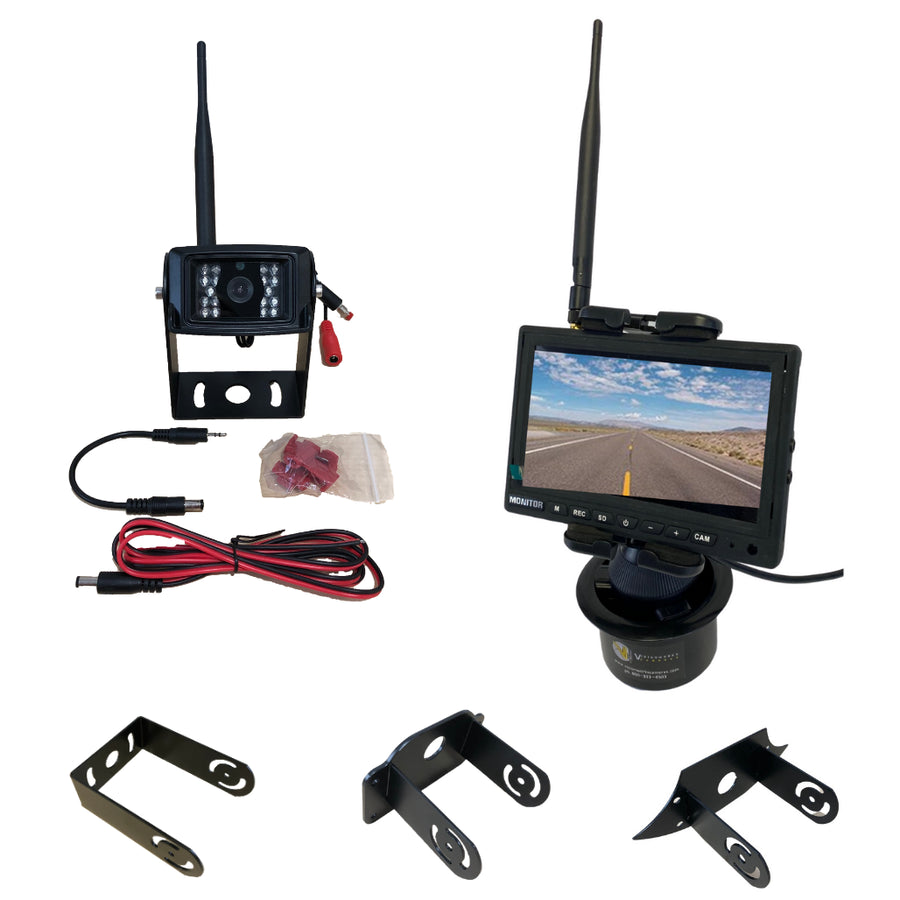
We are big believers in the VisionWorks camera systems. One of our customers introduced us to this brand, and once we checked it out, we quickly realized why. Compared to the other big brands, the VisionWorks has a better warranty, better durability rating, better night vision, better wireless range, it records where the competition does not, and even with all these things, it is still less expensive than the major competition. For me, this was a no brainer. In addition, these units work with all Furrion and Voyager prewired RVs which was important to me since my Rockwood RV had a Furrion prewire bracket which made the install much easier.
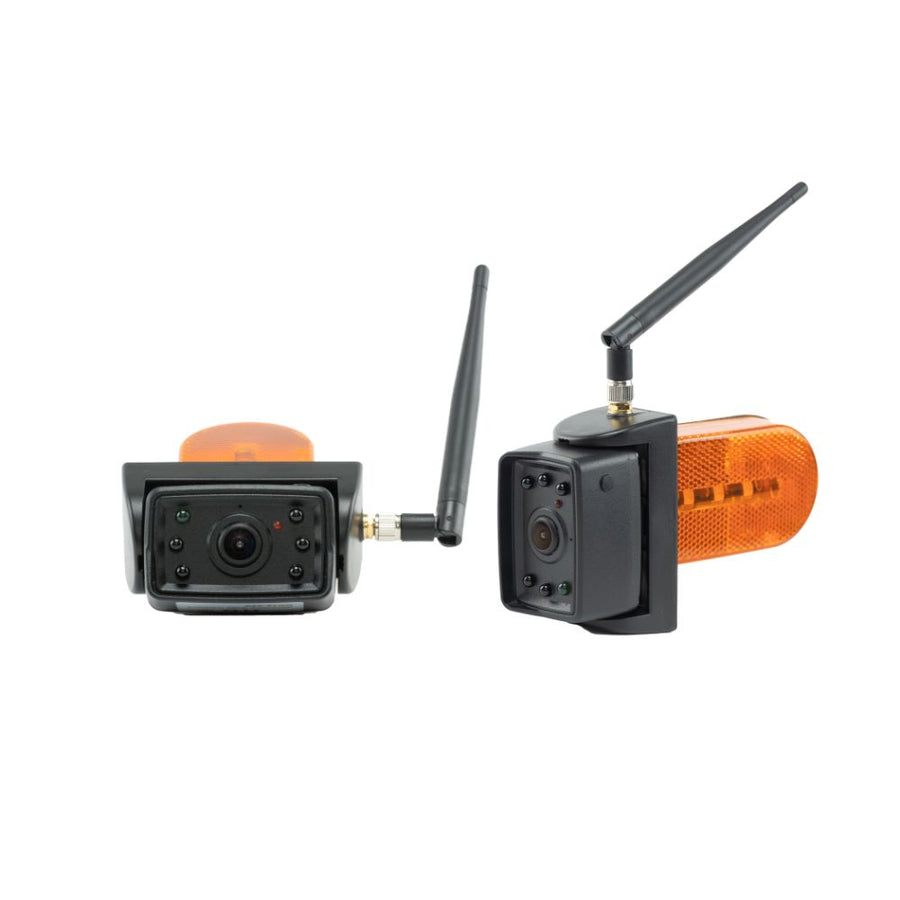
Recently, VisionWorks introduced side marker cameras and I quickly ordered them and did an install myself on my travel trailer. The install was easier than I thought it would be and I didn’t have to drill any new holes into the RV. The new side marker camera fit into the existing hole where my original side marker light was and used the same 12V power source which was already routed to power the original light. It was a relatively easy swap, and you can check out that install video by clicking here.
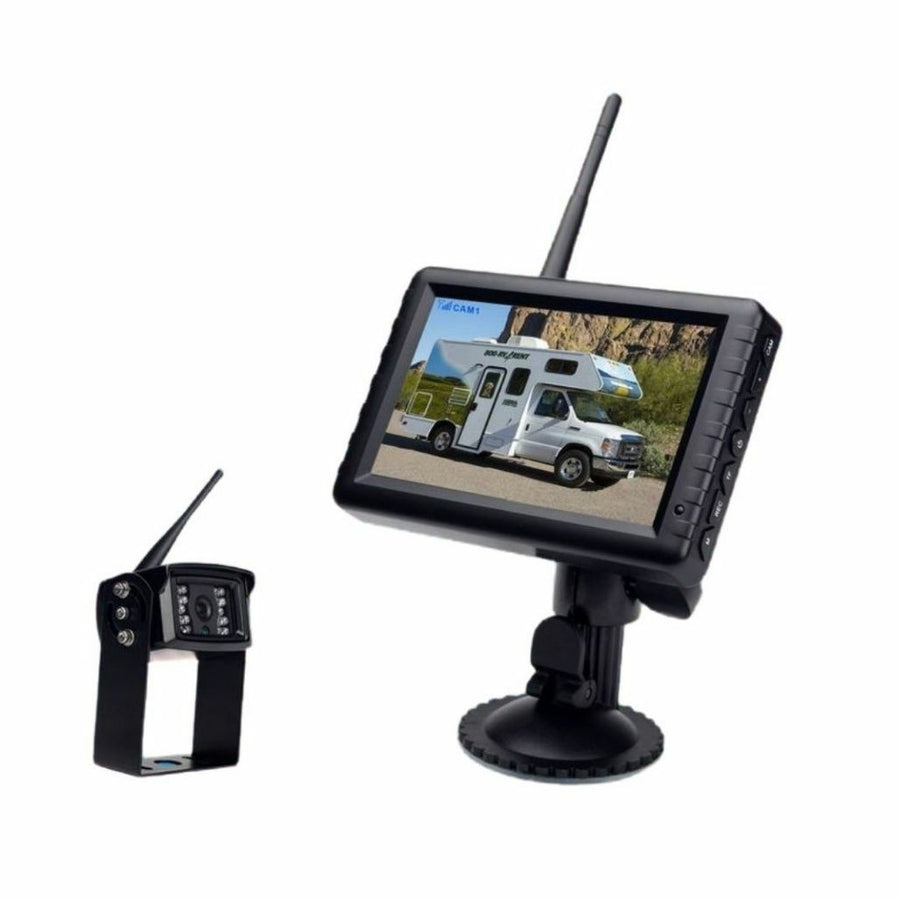
The side marker camera is very well built and has the same durability rating as the rear observation camera. The clarity is spectacular and pairing of the cameras to my existing VisionWorks monitor was quite simple. After pairing, I was able to see all three cameras (rearview and two side markers) on the same screen which is helpful while driving.
Here are some details about the side marker cameras:
- Model: Sony
- Resolution - 720P
- Viewing Angle - 100 Degrees
- Lens - 2.8 MM
- Weatherproof Rating - IP69k
- Temperature Rating - -4F to 140F
- Power - 12 Volt
- Signal – Wireless
- Warranty – 3 years
The unit just takes 12-volt power which you can get from your existing side marker lights. If you are wanting to create a new location for the cameras aside from your existing side lights, then just make sure you can access 12-volt power at that location.
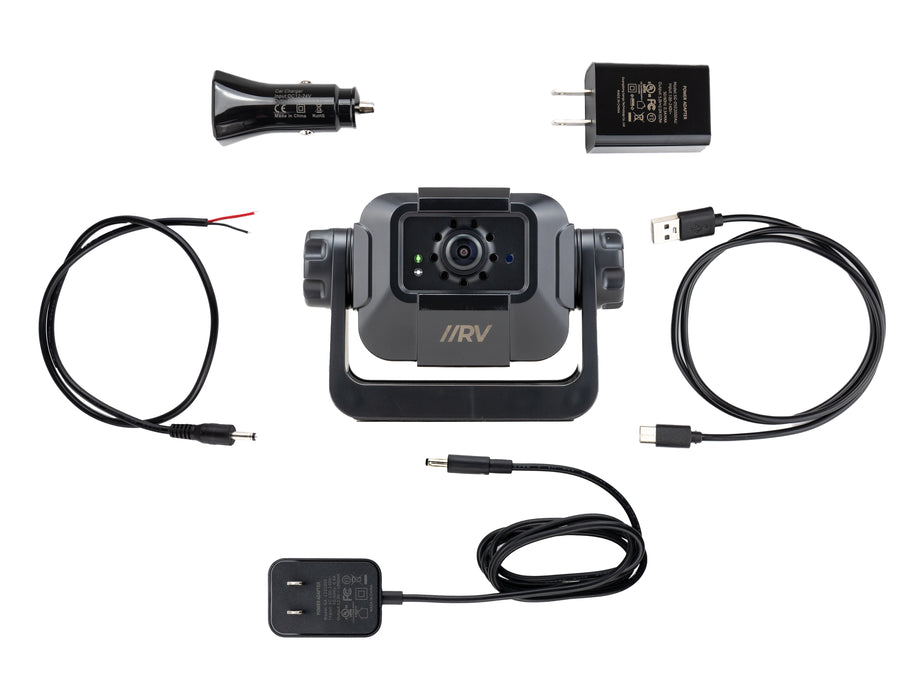
We sell the VisionWorks side marker cameras as a pair for $379, and they come with all mounting hardware needed to complete the installation. They are compatible with the VisionWorks 5-, 7-, and 9-inch monitors. You can shop the side marker cameras and all VisionWorks products by clicking here.




Leave a comment